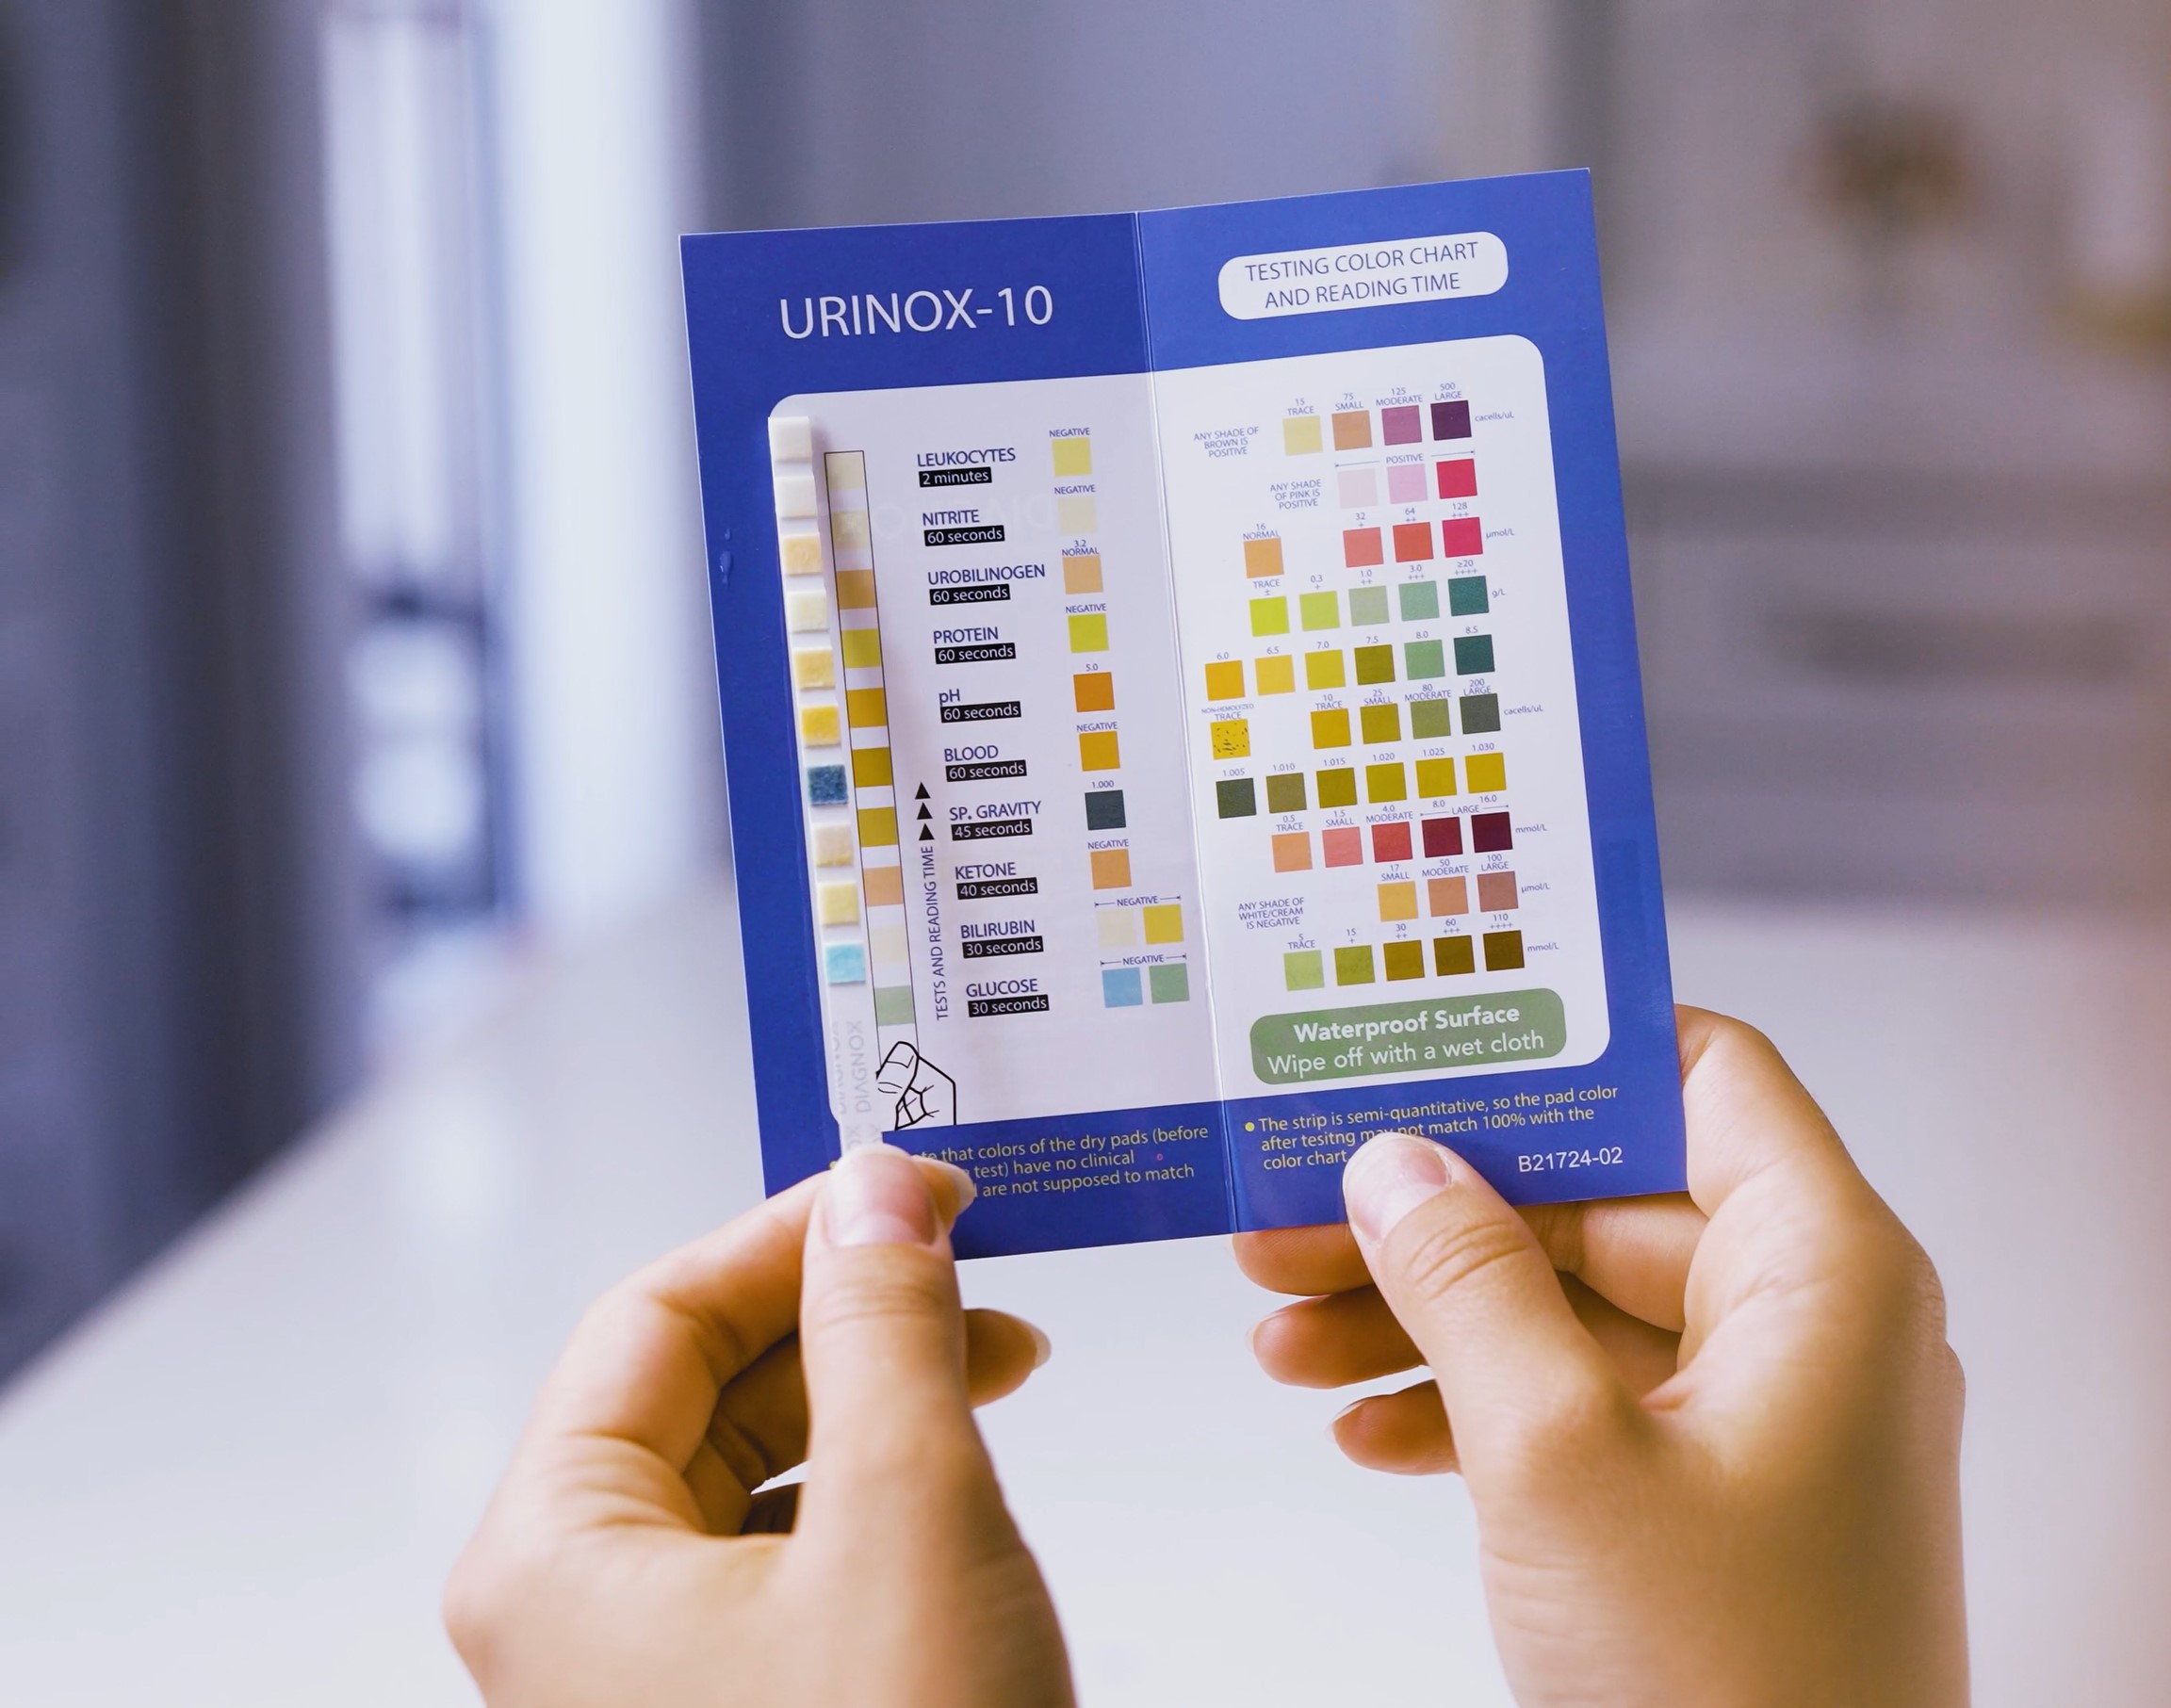
Urinalysis Interpretation: How to read a urine dipstick test
Urine dipstick tests are a rapid and convenient diagnostic tool used to assess various parameters of urine, providing insights into conditions such as UTIs, kidney diseases, and diabetes. In this post, we will discuss how to interpret the results of a urine dipstick test effectively.
Performing a urine dipstick test is a relatively straightforward procedure.
Table of Contents:
Performing a Urine Dipstick Test
Understanding the Components of a Urine Dipstick Test
Performing a Urine Dipstick Test
Equipment Required:
Urine dipstick test strips
Clean, dry containers for collecting urine samples
Gloves
Biohazard disposal bin
Steps:
Collecting the Urine Sample:
Instruct the patient to provide a midstream clean-catch urine sample to minimise contamination.
If the patient is unable to provide a clean-catch sample, a random urine sample can be collected, but contamination risk may be higher.
Preparation:
Put on gloves
Ensure that the urine sample is at room temperature before testing.
If you need to store the urine sample, ensure the container is labelled with the patient’s information, including name, date, and relevant identifiers.
Dipstick Preparation:
Open a urine dipstick test strip packet just before use to prevent moisture and contamination.
Performing the Test:
Hold the dipstick strip at the end opposite the coloured pads to prevent any interference with the results.
Immerse the reactive pads of the dipstick strip into the urine sample for the specified duration, usually around 1-2 seconds.
Removing Excess Urine:
Gently tap the dipstick strip on the edge of the urine container to remove excess urine without smearing or dripping.
Waiting Period:
Place the dipstick strip on a clean, dry surface or the provided colour comparison chart.
Wait for the specified time (usually 1-2 minutes) for the colour reactions to develop.
Interpreting the Results:
Compare the colour changes on the dipstick strip’s reactive pads with the manufacturer’s colour chart. Often, this is on the side of the dipstick bottle
Record the results accurately, noting any abnormal findings or specific values.
Cleaning Up:
Dispose of the used dipstick strip, any remaining urine sample, and gloves according to biohazard waste disposal protocols.
Wash hands thoroughly with soap and water
Documentation and Reporting:
Document the results of the urine dipstick test in the patient’s medical record, including any relevant clinical information and interpretation.
Understanding the Components of a Urine Dipstick Test
Before getting into interpretation, it’s essential to understand the components measured by a urine dipstick test. The dipstick typically assesses the following parameters:
pH: Indicates the acidity or alkalinity of urine.
Specific gravity: Reflects the concentration of solutes in urine.
Protein: Detects the presence of protein in urine, which may indicate kidney damage or other conditions.
Glucose: Screens for high blood sugar levels, a sign of diabetes or other metabolic disorders.
Ketones: Presence suggests abnormal fat metabolism, often seen in uncontrolled diabetes or fasting.
Blood: Detects the presence of red blood cells in urine, which may indicate various conditions such as UTIs, kidney stones, or kidney disease.
Bilirubin: Presence may indicate liver disease or obstruction of the bile ducts.
Urobilinogen: Levels may be elevated in liver disease or hemolytic disorders.
Nitrites: Indicate the presence of bacteria in urine, commonly associated with UTIs.
Leukocytes: Detects the presence of white blood cells, suggesting infection or inflammation in the urinary tract.
Interpreting Urine Dipstick Test Results

pH:
Normal range: Typically 5.0 to 8.0.
Acidic urine (pH < 5.0) may indicate conditions like diabetic ketoacidosis, while alkaline urine (pH > 8.0) could suggest urinary tract infections or metabolic disorders.
Specific Gravity:
Normal range: 1.005 to 1.030.
High specific gravity may indicate dehydration, while low specific gravity may suggest overhydration or kidney dysfunction.
Protein:
The presence of protein may indicate kidney damage or inflammation.
Trace amounts may be normal after vigorous exercise, fever, or stress.
Glucose:
Presence suggests hyperglycemia, indicating diabetes or impaired glucose tolerance.
False positives may occur if the patient is on certain medications.
Ketones:
Presence may indicate diabetic ketoacidosis, starvation, or a low-carbohydrate diet.
Not typically found in healthy individuals.
Blood:
Presence may indicate urinary tract infections, kidney stones, or kidney disease.
Small amounts may be normal, but persistent presence warrants further investigation.
Bilirubin and Urobilinogen:
Their presence may indicate liver disease or obstruction of bile ducts.
Nitrites and Leukocytes:
Presence suggests urinary tract infections, especially if both are positive.
False negatives may occur if the urine is not retained in the bladder for sufficient time.
Conclusion
Interpreting urine dipstick test results requires an understanding of the parameters being assessed and their associated clinical implications. While dipstick tests offer a quick initial assessment, confirmatory tests and clinical correlation are often necessary for accurate diagnosis and management. Results should be interpreted in the context of the patient’s clinical history, symptoms, and other findings to provide optimal patient care.
